When a clear part suddenly turns hazy in one local area, the mold shop and quality team first need to decide: should the cavity be cleaned, or should the mirror finish be repaired? The haze may look similar, but the object being treated can be different. Residue sits on top of the steel, while corrosion and scratches may already have changed the steel surface. Sending the area straight to polishing can remove material from an undamaged surface or create another defect.
At moldsteells, we explain this problem in the context of high-gloss injection molds and Mirror Finish Injection Mold work. When a clear part suddenly turns hazy, first match the hazy area on the part to the mold cavity. Then distinguish deposits on the steel from corrosion damage and mechanical scratches before deciding whether to clean or repair the surface. The sections below follow this sequence.
Why a Hazy Part Can Still Transmit Light
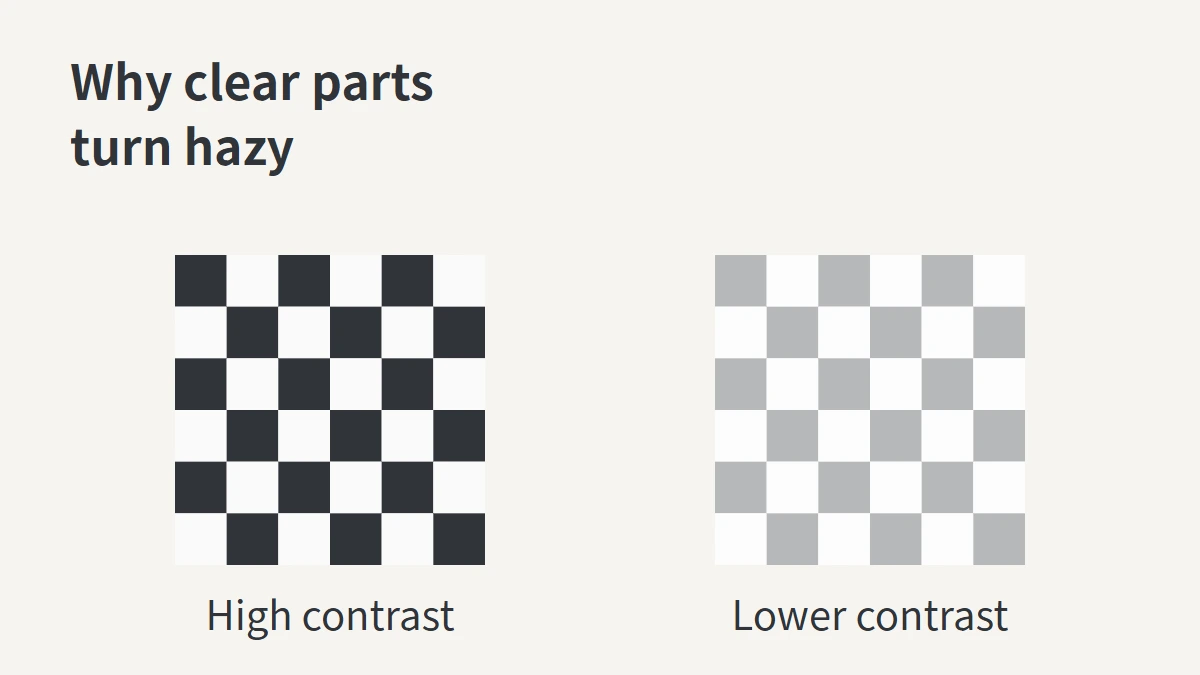
You may still be able to see a black-and-white image through a clear part, while the difference between black and white becomes weaker, as if a white veil had been added. Some of the light has changed direction and spread into other directions. How much light passes through and whether fine details remain clear are two different questions.
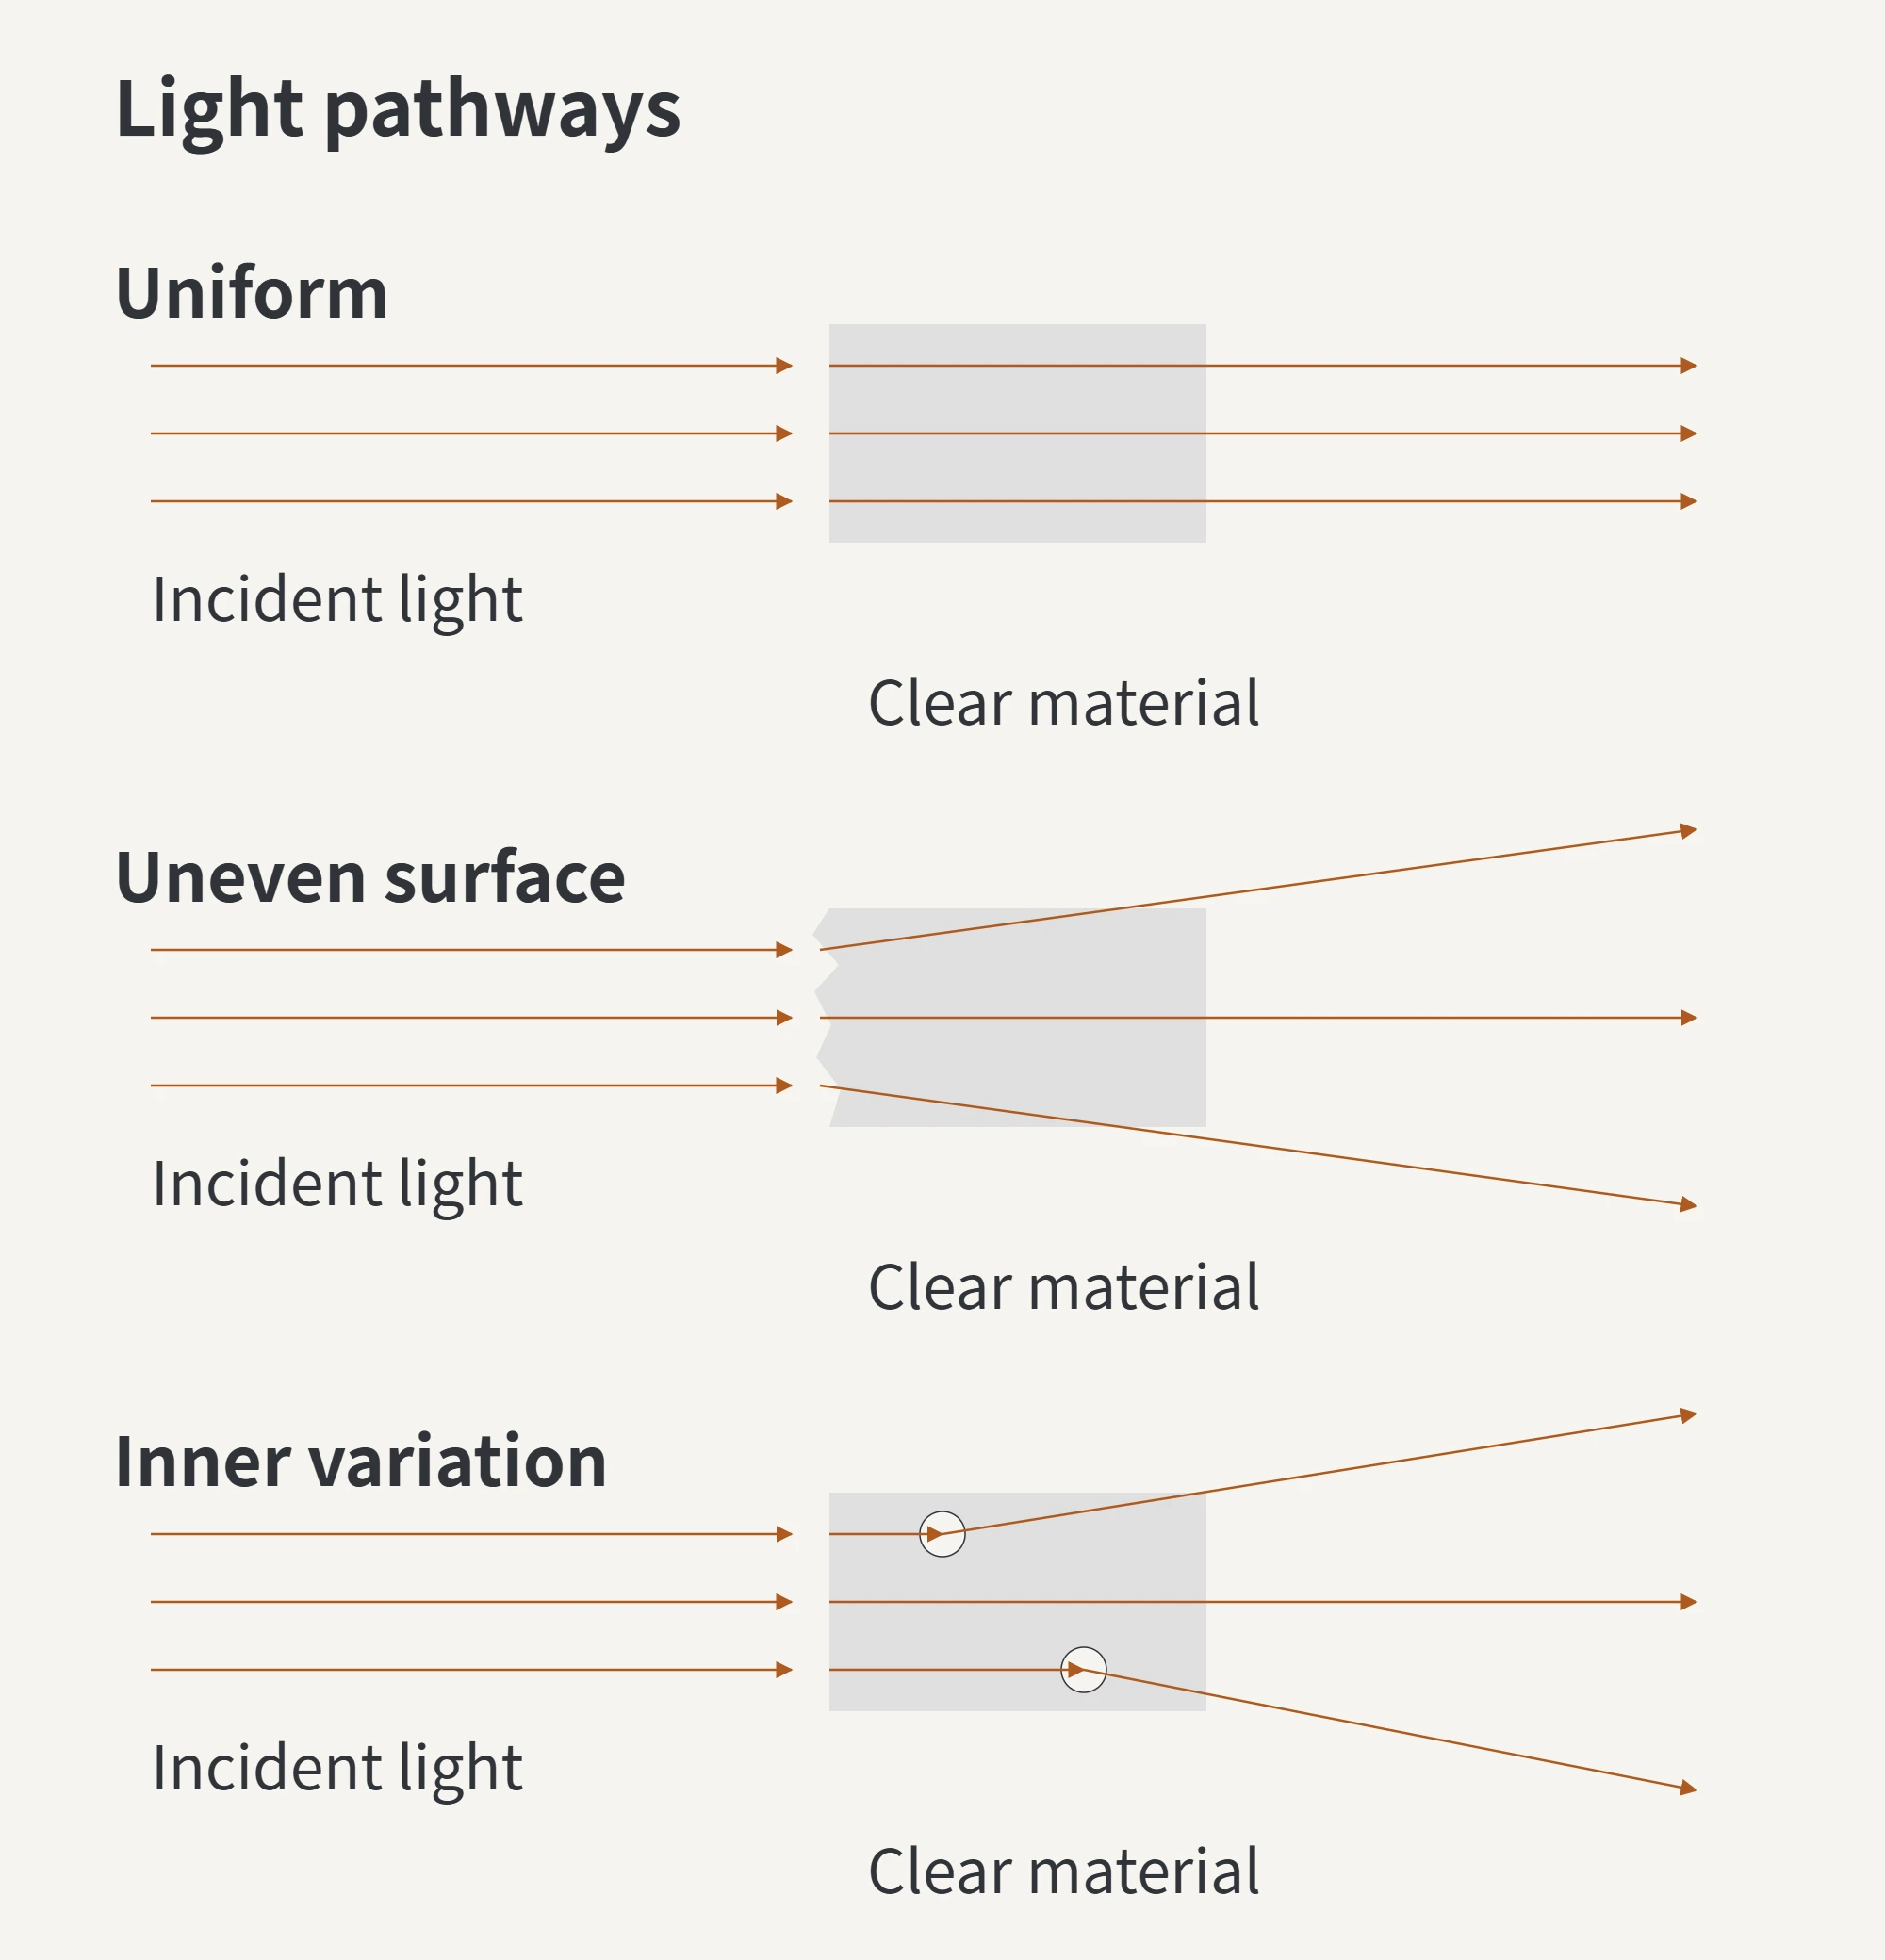
Abnormal texture on the cavity surface may be copied onto the plastic surface and scatter light. Voids and particles inside the plastic can scatter light as well. A hazy clear part therefore cannot be treated as direct proof of a cavity scratch or rust.
First Match the Hazy Area on the Part to the Cavity
For localization, keep samples from before and after the abnormality and confirm which mold cavity produced them. Compare them under the same lighting, part orientation, and viewing distance. Then find the cavity area that contacted this portion of the part during molding.
If parts from the same cavity repeatedly turn hazy in the same place and the corresponding cavity area also shows an abnormality, the two clues support continued inspection of that location. A movable light source can help reveal surface lines, patches, and local changes in level. When taking before-and-after photographs, restore the same lighting conditions for comparison.
A fixed location is only a clue and cannot identify the root cause on its own. How well a part copies mold-surface details also depends on the resin and molding process. Mold-steel polishing references show that different polymer samples can reproduce the same mold pit differently.
When inspecting the cavity, also check the resin grade, drying record, and molding record from before and after the abnormality appeared. Moist resin can produce streaks or bubbles. Resin decomposition products and additives can form deposits on the mold surface. Steel-surface abnormalities and changes in material or molding conditions can exist at the same time, so finding one issue is not a reason to stop checking the other.
What Residue, Moisture-Induced Rust, and Scratches Change
The key distinction is whether something has been added to the surface or the steel itself has been damaged.
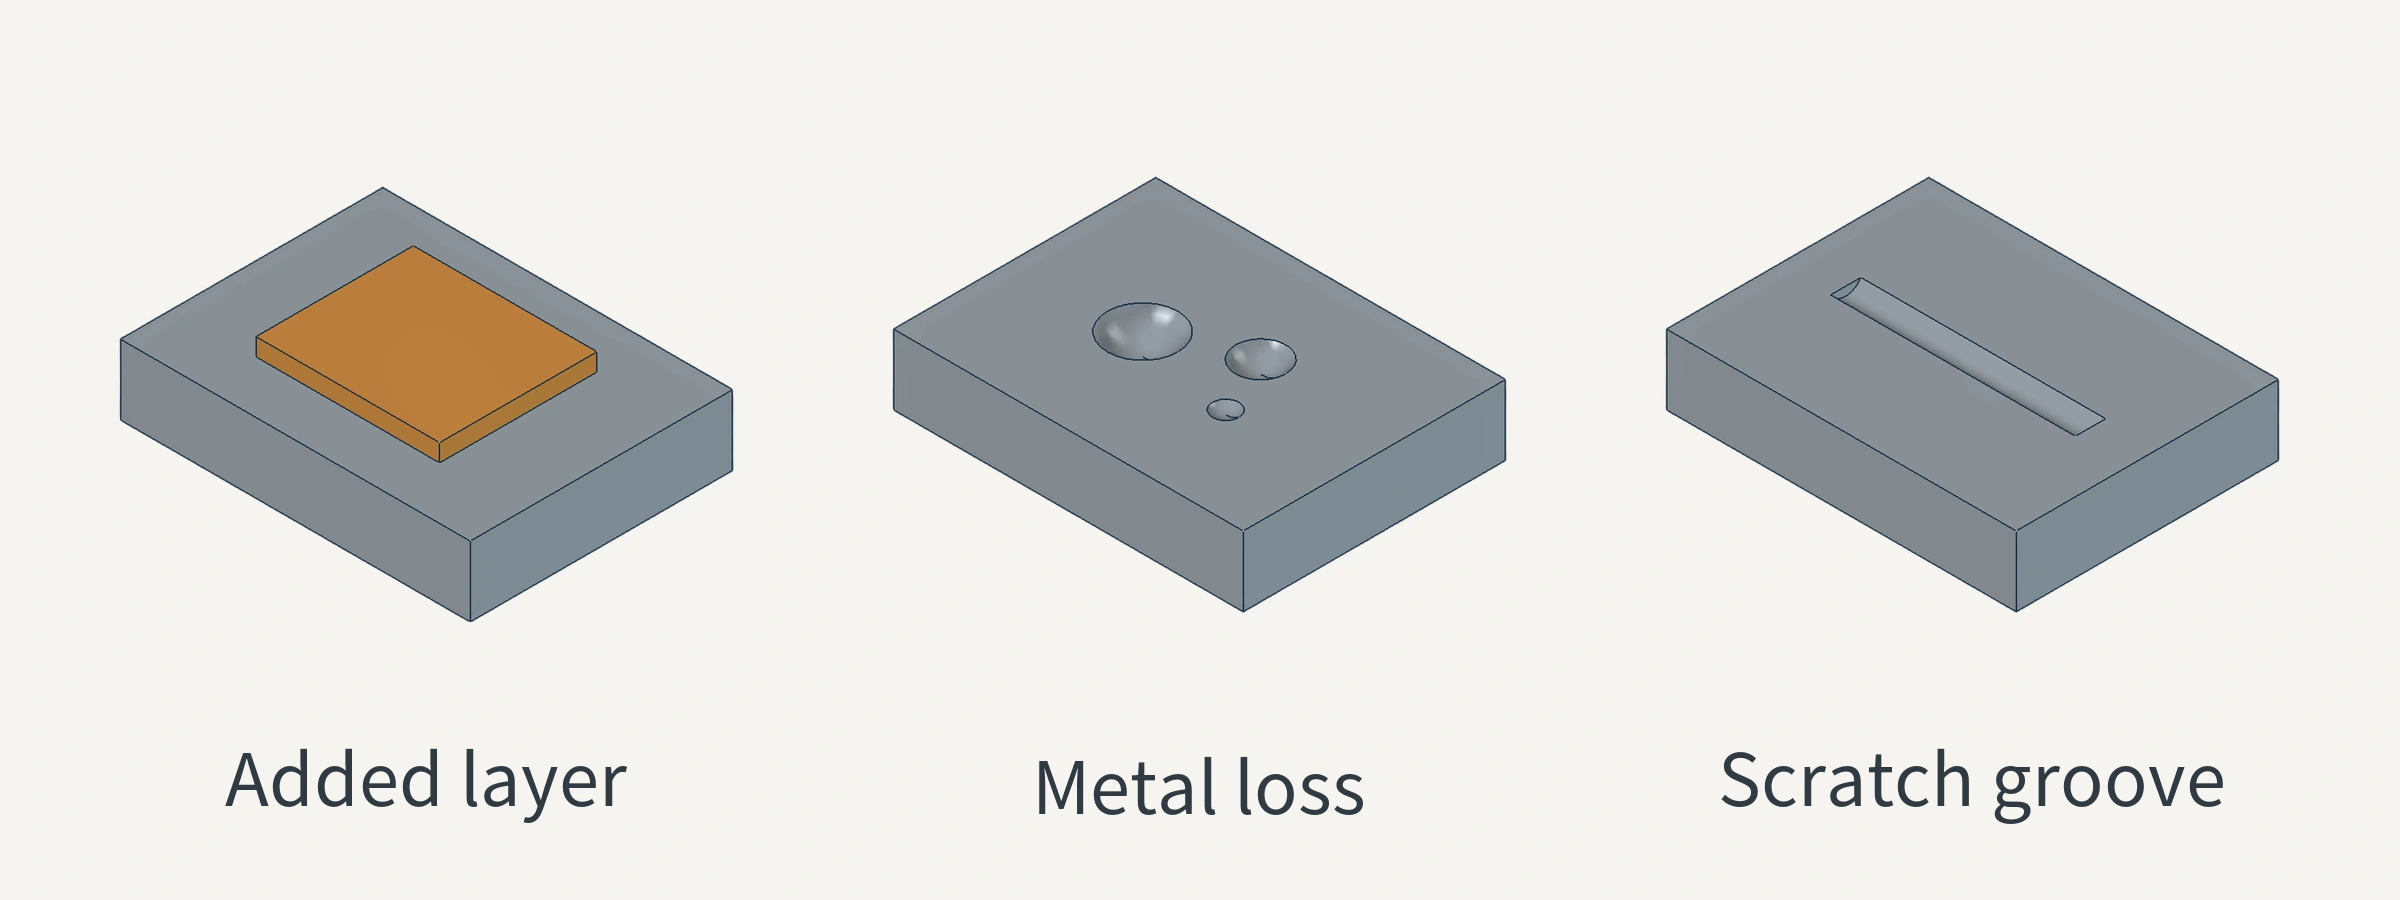
Residue: An Extra Layer on the Steel
Polymer decomposition products, additives, or flame retardants can deposit on the mold surface and around venting areas. Incompletely removed rust preventive or oil can also leave marks. These deposits change the surface that contacts the plastic, and some can transfer to the part.
Cleaning targets the deposit. Check the cleaner’s instructions against the confirmed contaminant, steel grade, and surface treatment, then clean the affected area. If the patch becomes smaller or the mark on the part is reduced at the same time, a removable material may have contributed to the abnormality. To trace the deposit, compare the resin grade’s processing requirements with pellet moisture, residence time in the barrel, and mold venting.
Moisture-Induced Rust: The Steel May Have Reacted
Wet corrosion of iron in a water film containing oxygen is an electrochemical process. At some locations, iron loses electrons and enters the water film as iron ions. The electrons travel through the metal to another location, where oxygen accepts them in a reaction. The water film allows ions to move, enabling the reactions at both locations to continue.
The later products include hydrated iron oxides and other corrosion products. When iron leaves the original metal surface, local corrosion may leave a pit. This general mechanism explains why removing rust and restoring a mirror finish are two separate tasks. It cannot identify the steel grade, the exact rust composition, or the extent of corrosion in the current cavity.
Also identify where the rust stain came from. Foreign iron contamination on stainless steel can rust when it becomes wet, so a rust-colored mark does not prove that the base material has corroded to the same degree. Technical guidance from the British Stainless Steel Association also notes that pitting associated with severe staining may remain after the contamination is removed.
Scratches: Contact and Rubbing Change the Steel Surface
A wiping material carrying hard particles can leave new scratches as it moves across a mirror surface. The direction of the line, whether it becomes easier to see when the lighting direction changes, and whether the corresponding part has a similar line can be considered together when identifying mechanical marks.
All three abnormalities can occur together. Corrosion damage may be hidden under a deposit, and contaminated wiping material may create new scratches. Pits are not exclusive evidence of moisture-induced rust: nonmetallic inclusions or hard carbides can also be pulled out during polishing, leaving small pits.
When a pit is found, record when it was first noticed and check earlier polishing, cleaning, and moisture exposure records. Document its shape under magnification and whether scratches surround it, and measure its depth relative to the neighboring steel surface. If records from before treatment are available, compare the same location with its original condition. This evidence helps establish whether the pit appeared before or after polishing, cleaning, or moisture exposure. Pit shape alone cannot establish the cause. If the cause remains uncertain, ask a qualified specialist whether sampling and analysis are needed. Do not re-polish or acid-etch an in-service cavity to “verify” the cause.
How to Decide Whether Repair Is Needed After Cleaning
A lighter haze only shows that the appearance changed; it does not prove that the steel surface is undamaged. Cleaning removes deposits. It does not replace steel that has already been lost.
After cleaning, recheck the original area on the steel and then observe the corresponding part under comparable resin and molding conditions. Use the results below to guide the next decision:
| Observation | What to handle next |
|---|---|
| After the deposit is removed, there is no groove, pit, or local roughness at the same location, and the part appearance also recovers | Continue tracing the source of the deposit or rust preventive so it does not build up again. The observation still does not replace surface measurement. |
| The patch is reduced, but the steel still has a groove, pit, or rough area | Assess damage depth, available stock, and mirror-finish requirements before choosing a local repair method. |
| The steel observation does not match the part result | Check material, molding changes, and viewing conditions. Add surface measurement if needed, and do not expand the polishing area based on haze alone. |
After corrosion is confirmed, address the source of moisture or contamination and apply protection according to the actual steel grade and shutdown requirements. Do not copy a pickling formula for another stainless-steel product onto a mirror cavity with an unknown steel grade. The cleaning process itself can etch the surface.
Mirror-finish repair should address confirmed steel-surface defects. Continuing to increase pressure or extending polishing time can make surface quality worse. If orange peel or new deep marks appear, stop polishing under increased pressure and reassess the preceding machining step, steel condition, and repair method.