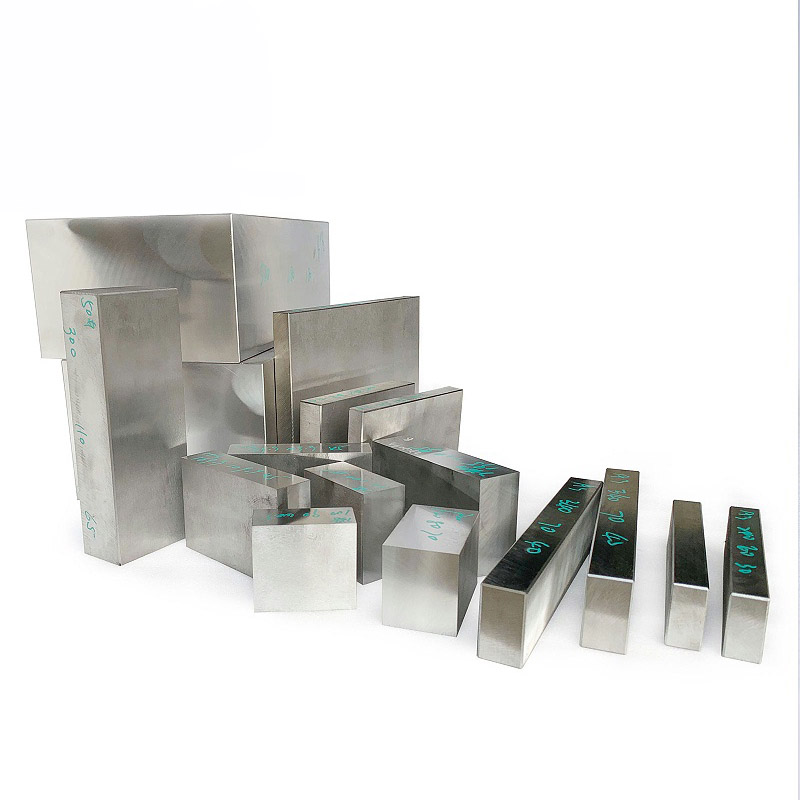
In the mold manufacturing field, the quality of raw materials directly determines the reliability of the final product and the overall production cost. NAK80 mold steel is widely used for its excellent polishing performance and mechanical properties, but porosity defects can become a “hidden killer” that causes significant financial losses. Through two real-world cases – in one, a factory owner suffered losses of hundreds of thousands of dollars because NAK80 mold steel with internal porosity was used to build molds that were eventually scrapped; in another, an automotive mold customer had a mold worth hundreds of thousands of dollars scrapped due to porosity in the NAK80 material, resulting in severe distrust of the supplier – this article reveals the fatal impact of porosity defects on mold manufacturing. It explores how scientific inspection solutions can prevent such risks at the source. This content is compiled from our practical experience in NAK80 mold steel sawing and machining projects, for reference by industry peers.
Review of NAK80 Mold Scrap Cases: The Common Culprit Behind the Losses
Although the scale of losses in the two cases differed, both pointed to the same root cause: porosity in NAK80 raw material that had not been detected in time. In the first case, a company purchased NAK80 and produced molds. During trial molding, obvious surface depressions appeared, and the entire batch of molds had to be scrapped, resulting in direct losses of hundreds of thousands of dollars. In the second case, a precision automotive mold failed in service due to porosity in the NAK80 material. The high-value mold was scrapped, and, more seriously, the customer’s trust in the supplier was severely damaged, leading to a near halt in subsequent cooperation. In actual machining projects, we often hear feedback such as “we only found the surface pits during mold trials, and both the material and machining costs were completely wasted.” This is a typical consequence of porosity defects.
How Does Porosity Lead to Mold Failure? Logic Behind Surface Depressions and Scrap
The harm caused by porosity to molds is both direct and irreversible. When porosity exists within NAK80 material, the porous areas can cause stress concentration during mold machining or service, or collapse under high temperature and high pressure, resulting in surface depressions. Such defects will lead to appearance flaws in molded parts. If the porosity is located in critical load-bearing regions, it may also trigger crack propagation, eventually causing a chain of losses described as “material scrapped → mold scrapped → production halted.”
At the root level, the formation of porosity is often related to the melting and rolling processes. During steelmaking, insufficient deoxidation leaves residual gas that can form gas bubbles; during rolling, if the temperature is too low or the pressure is uneven, these bubbles are not fully compressed and remain as pores. If these “hidden voids” are not detected before the material leaves the mill, problems are bound to emerge during subsequent machining.
Breaking the Bottleneck with Raw Material Inspection: Necessity of 100% UT and Third-Party Testing
The key to solving porosity problems lies in strictly controlling quality at the source. After NAK80 arrives at the plant, companies should immediately start inspection. First, perform 100% ultrasonic (UT) testing on the entire batch (according to the applicable testing standard, using full-area scanning or standard-based sampling) to thoroughly screen for internal defects; then supplement with sampling-based metallographic analysis to evaluate microstructural uniformity.
Compared with other common inspection techniques, UT (ultrasonic testing) is well-suited for detecting internal porosity, while MT (magnetic particle testing) and PT (penetrant testing) mainly target surface defects. Internal porosity in mold steel, therefore, relies heavily on UT for detection. Commissioning third-party institutions (such as SGS) to conduct testing helps avoid subjective bias in internal inspections and intercept nonconforming materials before they enter production. From a cost perspective, a single UT inspection run typically accounts for about 2–8% of the material cost, with the exact proportion depending on material dimensions and inspection requirements. However, it can prevent subsequent mold scrap losses exceeding 10 times that amount. This is the “small investment for large protection” principle we have summarized from machining practice.
Key Ultrasonic Testing Parameters: Ensuring NAK80 Is Free from Porosity Risks
Ultrasonic testing parameters directly determine the ability to detect defects. Based on practical experience, the following requirements should be met: 100% full coverage scanning (for each piece, perform full-area scanning according to the relevant testing standard) to ensure no blind zones; use a 2 MHz probe to balance penetration depth and resolution; and set sensitivity not lower than an equivalent flat-bottom hole of Φ2 mm to detect small pores reliably. These parameters are defined based on the characteristics of NAK80 and mold service requirements. For example, a 2 MHz probe can penetrate relatively thick mold steel blocks. At the same time, Φ2 mm sensitivity makes it possible to capture small pores that affect surface quality, thereby avoiding “missed defects that directly lead to scrap.”
Conclusion
Porosity defects in NAK80 mold steel can cause losses of hundreds of thousands of dollars and even damage trust across the entire supply chain. Companies must establish strict raw material inspection systems: after material arrival, perform 100% UT testing on the entire batch (2 MHz probe, Φ2 mm sensitivity, executed according to the appropriate testing standard) combined with metallographic analysis for screening, and commission third-party institutions to ensure impartiality.
- Arrange UT testing as soon as NAK80 material arrives, ensuring that inspection is completed before production machining begins.
- Use third-party testing as a second layer of verification for critical mold components.
- Establish material batch inspection records to trace the root cause of any future quality issues.


