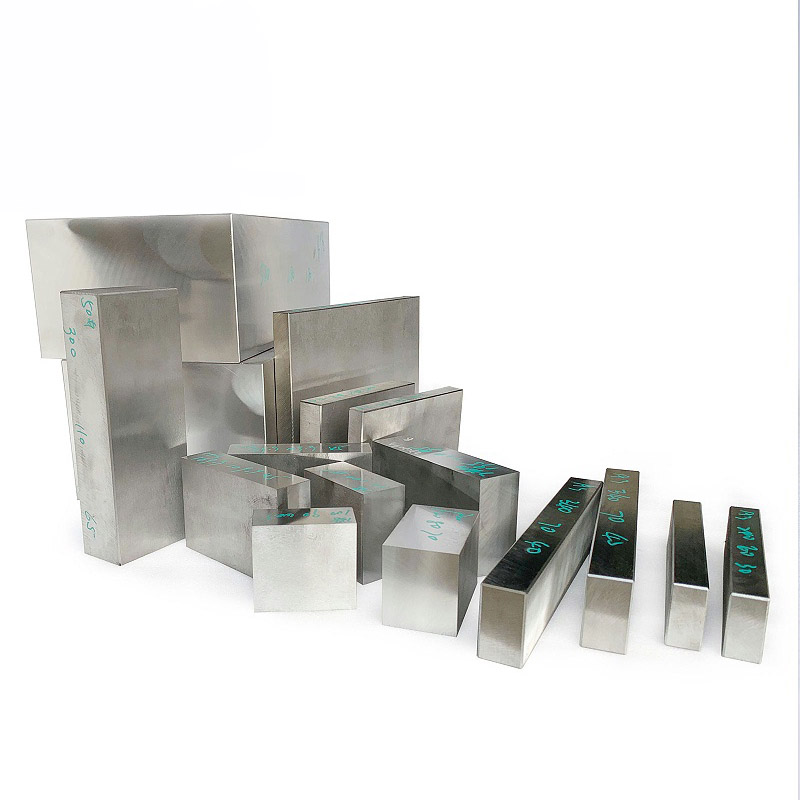
Thanks to its excellent overall performance, NAK80 mold steel is widely used in precision mold manufacturing. However, during the purchasing process, problems such as unstable or substandard hardness occur frequently, significantly affecting downstream machining and final product quality. In actual production, some customers encounter situations like this: the hardness of NAK80 fluctuates wildly – when it is too high, milling cutter wear accelerates and machining efficiency drops by about half; when the hardness is too low or uneven, scratches always remain on the surface after polishing, and the supplier even shirks responsibility. One factory owner reported that the NAK80 they purchased had a hardness of only 32 HRC; after machining, a mirror finish could not be achieved, and the end customer rejected the mold due to quality issues. In another case, a customer found that although the supplier claimed a prehardened hardness of 38–42 HRC, actual measurement upon receipt was only 35 HRC, which directly delayed the production plan. This article is compiled based on Longshi Mold Steel’s practical experience in machining mold steels for your reference.
Real-World Pain Points with NAK80 Hardness: From Machining Difficulties to Customer Returns
In practical applications of NAK80, hardness directly determines whether production runs smoothly and whether product quality is stable. The main pain points are reflected in the following five aspects:
1. Unstable hardness triggers a chain reaction. In precision mold workshops, it is common to encounter the following situation: when the hardness of NAK80 is too high, cutting resistance increases, and the feed rate of milling tools may have to be reduced by 15–40% (depending on specific machining conditions); when the hardness is too low or uneven, the polishing wheel passes over the surface and leaves irregular depressions, and even repeated rework still cannot achieve the required mirror finish.
2. Substandard hardness leads to customer returns. In some enterprises, the hardness of NAK80 actually received is only 32 HRC. Under such hardness, the mirror-surface effect of the mold cannot be achieved after machining. The end customer directly rejects the parts, resulting not only in the loss of orders but also in damage to future cooperation.
3. “Declared vs. measured” hardness mismatch. Some buyers see a supplier’s datasheet claiming 38–42 HRC at the time of purchase, but when the material is received and tested with a hardness tester, the result is only 35 HRC. This kind of “off-spec delivery” completely disrupts the entire production schedule.
4. Excessive impurity content affects performance. There are also cases where the sulfur content in the material is too high (while the standard requirement is ≤0.03%). During cutting, intergranular cracks appear, or non-metallic inclusions exceed the limit (the inclusion rating should comply with GB/T 10561-2005 at ≤2.0 grade). After polishing, needle-tip-sized pinholes appear on the surface, making the steel unsuitable for optical mold applications.
5. Dimensional deviations cause insufficient machining allowance. Some customers receive NAK80 plates that are 0.5 mm thinner than the ordered thickness. The originally planned finish-machining allowance is no longer sufficient, so additional material must be ordered, resulting in about one week of schedule delay.
Standard Hardness of NAK80: Why 38–42 HRC Is the Key Range
To address hardness issues with NAK80, the first step is to clarify its standard hardness range: 38–42 HRC. This “golden window” has been verified by long-term practical experience. When the hardness is below 38 HRC, an orange-peel-like texture tends to appear during polishing, and the surface cannot meet the mirror-finish requirement of Ra 0.01 μm. When hardness exceeds 42 HRC, material brittleness increases, and microcracks are more prone to form during wire EDM, while overall machining costs rise significantly.
Practical Anti-Pitfall Actions: From Test Reports to Source Verification
To avoid risks during procurement, quality control must start from the source. The process can be divided into three key steps:
Step 1: Require a third-party inspection report from the supplier. The report must include Rockwell hardness (HRC) test results and be issued by an authoritative body such as SGS or CTI (Centre Testing International). The test standard should clearly indicate GB/T 230.1-2018.
Step 2: Verify the authenticity of the report. After receiving the report, carefully check three aspects: whether the qualification number of the testing institute can be verified, whether the report number can be validated on the official website, and whether the test date is within three months before the delivery date.
Step 3: Request a material mill certificate. Focus on confirming the content of key elements such as C (0.15–0.25%), Cr (1.2–1.6%), and Ni (3.0–3.5%) to prevent low-nickel, low-chromium substitute materials from being mixed in.
Conclusion
The hardness, chemical composition, and dimensional stability of NAK80 mold steel directly determine machining efficiency and final product quality. During procurement, it is essential to strictly confirm that hardness falls within the standard range of 38–42 HRC, and to perform dual verification using both third-party inspection reports and material mill certificates to minimize risk.


